A five-minute make-up routine for busy mornings
A polished make-up look does not require a significant time investment. Here is a practical, step-by-step approach for a presentable finish in five minutes.
By Maya Okafor · 22 August 2026 · Updated 8 October 2026 · 6 min read
The prospect of a lengthy make-up application can feel overwhelming on a busy morning. However, creating a presentable and polished look does not need to consume precious time. A simple, repeatable routine using a handful of multitasking products is an achievable goal. The aim is not a full-coverage transformation, but a few strategic steps to help you feel prepared for the day ahead.
This routine assumes you have already completed your morning skincare. A clean, hydrated canvas is the best starting point for any make-up. If you are new to this, learning how to build a simple skincare routine is a valuable first step. This sequence should also always follow the application of a broad-spectrum sunscreen. Protecting your skin from UV damage is non-negotiable, and you can learn more about why you might need SPF in winter, too.
The Tools: Keep It Simple
An effective routine does not depend on an extensive collection of brushes. In fact, for a quick application, your own fingertips are often the most efficient tool. The warmth from your hands helps to melt and blend cream-based products, such as foundation or blush, seamlessly into the skin for a natural finish.
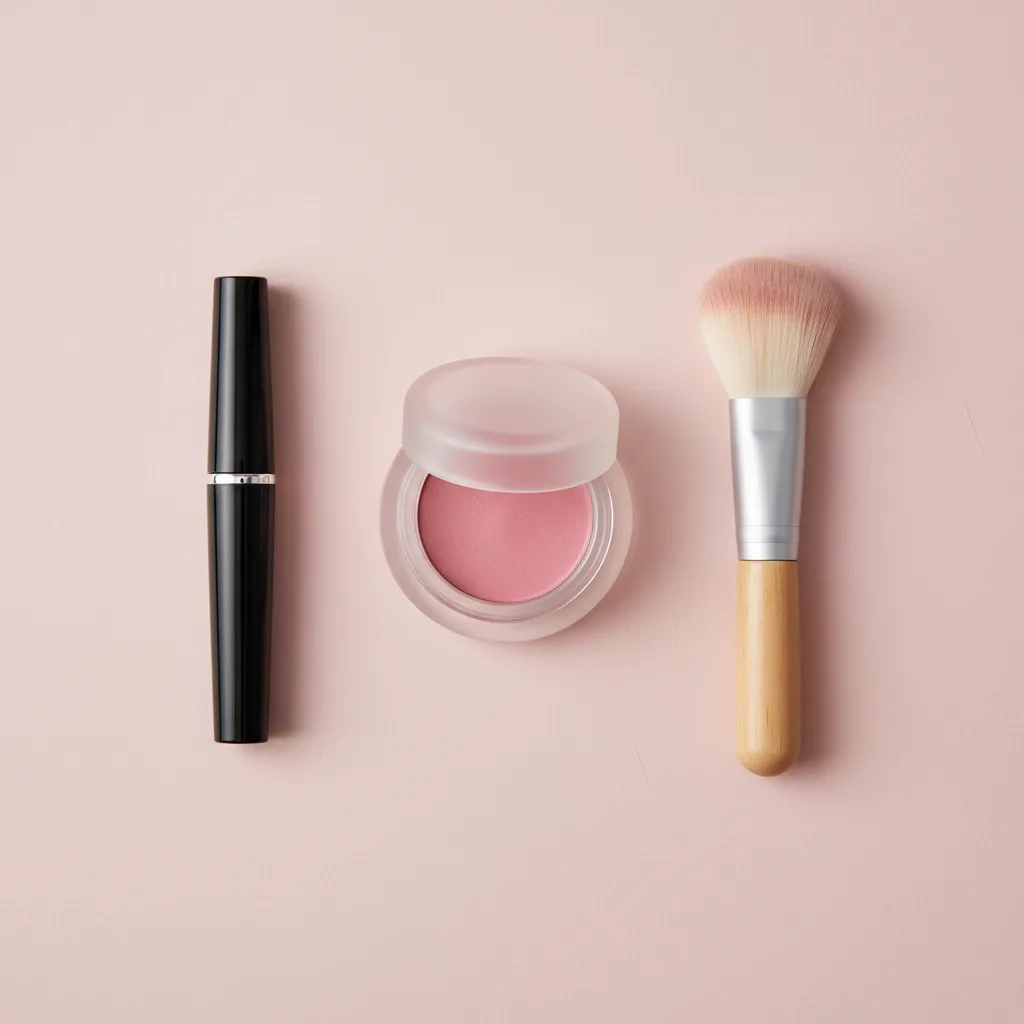
If you prefer to use tools, a few versatile items are all that is required. Consider a medium-sized, fluffy brush for any powder products, a damp make-up sponge for blending a liquid base, and a smaller, denser brush that can be used for targeted concealer application or even to smudge colour along the lash line. Keeping your tools clean is important for both hygiene and product application; wash them weekly with a gentle soap or brush cleanser and lay them flat to dry.
Step One: A Cohesive Base (90 Seconds)
The first step is to create an even-toned canvas. Choose a lightweight base product like a skin tint, tinted moisturiser, or a BB or CC cream. These products provide sheer to medium coverage, evening out redness and slight imperfections without masking your natural skin. The goal is to look like your own skin, but on a particularly good day.
Dispense a small amount onto your fingertips and apply it to the centre of your face—your forehead, nose, and chin—blending outwards towards the hairline and jaw. This concentrates the product where it is often most needed and ensures a natural, fade-out effect at the edges. If you have areas that require more coverage, such as dark circles or blemishes, follow up with a small amount of concealer. Gently pat the product into the skin with your ring finger or a small brush; rubbing can displace the product and cause irritation.
Step Two: Add Colour and Dimension (2 Minutes)
Next, restore some of the natural warmth and dimension to your face. Cream products are ideal here as they are quick to apply and blend, often without needing any tools. A cream blush in a shade that complements your skin tone can instantly add a healthy-looking flush.
Apply a small amount to the apples of your cheeks and blend it upwards and outwards towards your temples. This creates a lifted appearance. The same product can be tapped onto the lips for a subtle, cohesive hint of colour. To add warmth, you might use a cream bronzer, applying it sparingly to the high points of your face where the sun would naturally hit: the top of your forehead, the bridge of your nose, and your cheekbones. For an even more streamlined approach, this same cream blush or bronzer can be swept across the eyelids with a finger for a quick wash of colour that ties the whole look together.
Step Three: Eyes and Brows (90 Seconds)
The final steps focus on definition, which helps to frame the face. For eyebrows, a simple tinted brow gel is often sufficient. Brush the hairs upwards and outwards to create shape and fullness while depositing a small amount of colour. This single step grooms and sets brows in place for the day.
For your eyes, a single coat of mascara can make a significant difference. To maximise its impact, wiggle the wand at the very base of your top lashes to build volume at the root before pulling the brush through to the tips. This technique creates the illusion of thicker lashes without clumping. If you have time, a quick curl with an eyelash curler beforehand will further open up the eyes. This focused approach is the cosmetic equivalent of a well-planned workwear wardrobe; it relies on a few effective elements rather than an excess of choice.
- For any persistent skin concerns, such as acne or significant redness, it is always best to consult a GP or dermatologist for tailored advice.
Maya tests hundreds of products a year so you don't have to. Formulas first, packaging second.